

DIY leather wallet kitDeep Purple & Purple
Learn to saddle stitch your own leather wallet.
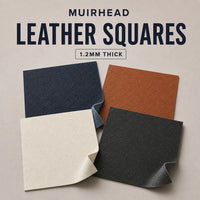
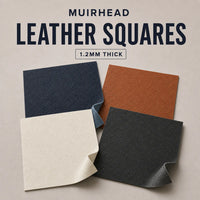
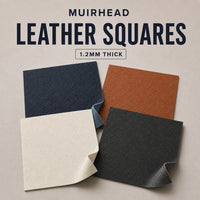
Choose your colour
 Deep Purple & Purple





Learn to saddle stitch
-
Made in Scotland
With Scottish leather
-
Pre-cut panels
Holes already punched.
-
Tools included
Thread, needles and snips.
-
Illustrated guide
Follow the pictures.
Assembly instructions
Before stitching: match the left and right pieces. Check the extra outer hole and the slant of each pocket piece.
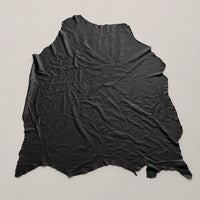
Black pieces shown. Your kit colour may differ.
Step 1
Attach the first card flap
Match the first flap to the upper row of holes. Stitch its bottom edge along the orange line.
Step 2
Attach the second card flap
Place the second flap below the first. Match the lower row of holes and stitch its bottom edge.
Repeat on the other side. Keep left and right pieces together.
Step 3
Stitch the wallet together
Stack the card pockets, front pieces and back panels as shown. Follow the orange stitch route, passing through one piece at a time.
At the inside seams, leave the outer back panel free. Stitch only the other slotted pieces.
Finish each seam by stitching back through two holes. Trim the thread on the least visible side.
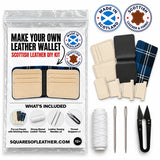
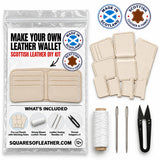
What's included
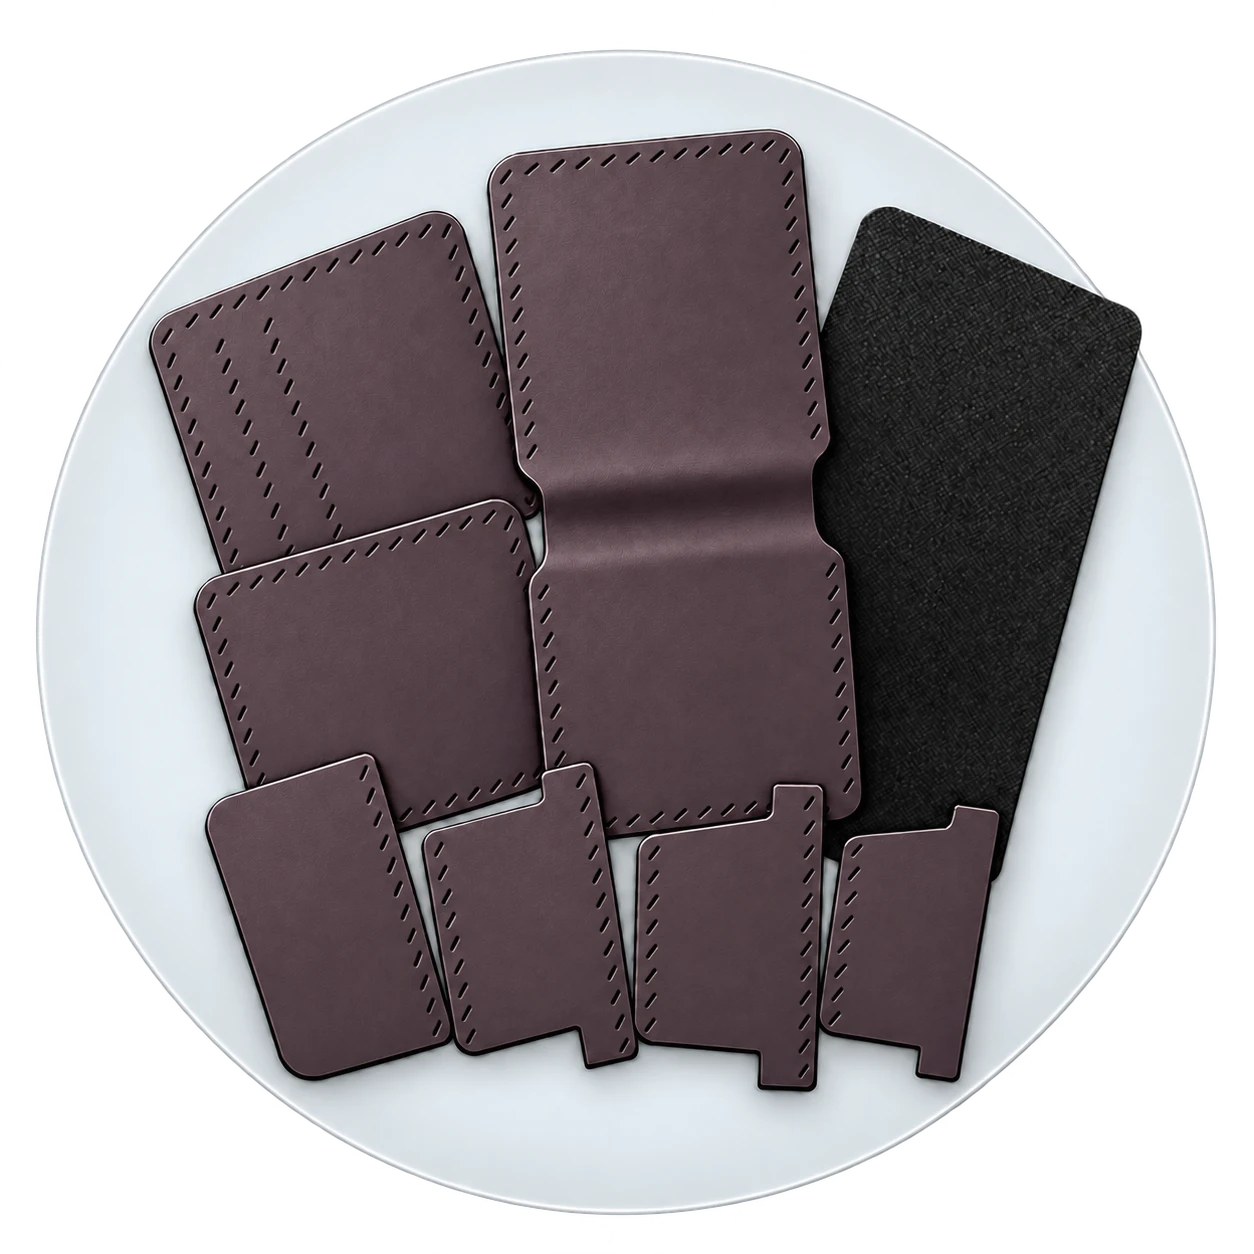
Leather panels
Pre-cut Scottish leather panels with slanted stitching holes, ready to make a wallet with six card slots and a pocket for notes.

Waxed thread
50 metres of waxed polyester thread in your chosen kit colour, ready for saddle stitching.
Two needles
Two leather-sewing needles, one for each end of the thread to make the saddle stitch.
Thread snips
Small thread snips for cutting your thread and trimming the ends after stitching.