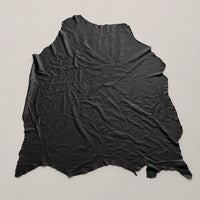


Leather wallet kit
£28.00
1

Your cart is empty
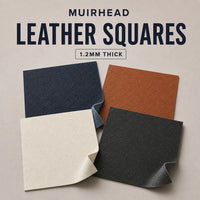
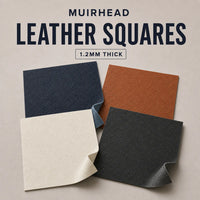
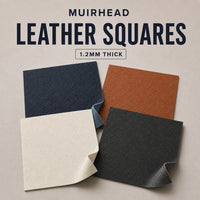
Choose a leather colour and the size for your project.
Shop leatherFree UK delivery with CRAFTSHOWSHIPPING. Apply the code at checkout.
Follow the three illustrated steps to make your wallet.
Before stitching: match the left and right pieces. Check the extra outer hole and the slant of each pocket piece.
Black pieces shown. Your kit colour may differ.

Find the extra stitch hole on each card-holder panel. That hole belongs on the outside edge. Match the orange labels in the picture.

Match the slanted card flaps and front pieces using the orange lines. Keep each set with its matching left or right panel.
Step 1
Match the first flap to the upper row of holes. Stitch its bottom edge along the orange line.
Step 2
Place the second flap below the first. Match the lower row of holes and stitch its bottom edge.
Repeat on the other side. Keep left and right pieces together.
Step 3
Stack the card pockets, front pieces and back panels as shown. Follow the orange stitch route, passing through one piece at a time.
At the inside seams, leave the outer back panel free. Stitch only the other slotted pieces.
Finish each seam by stitching back through two holes. Trim the thread on the least visible side.
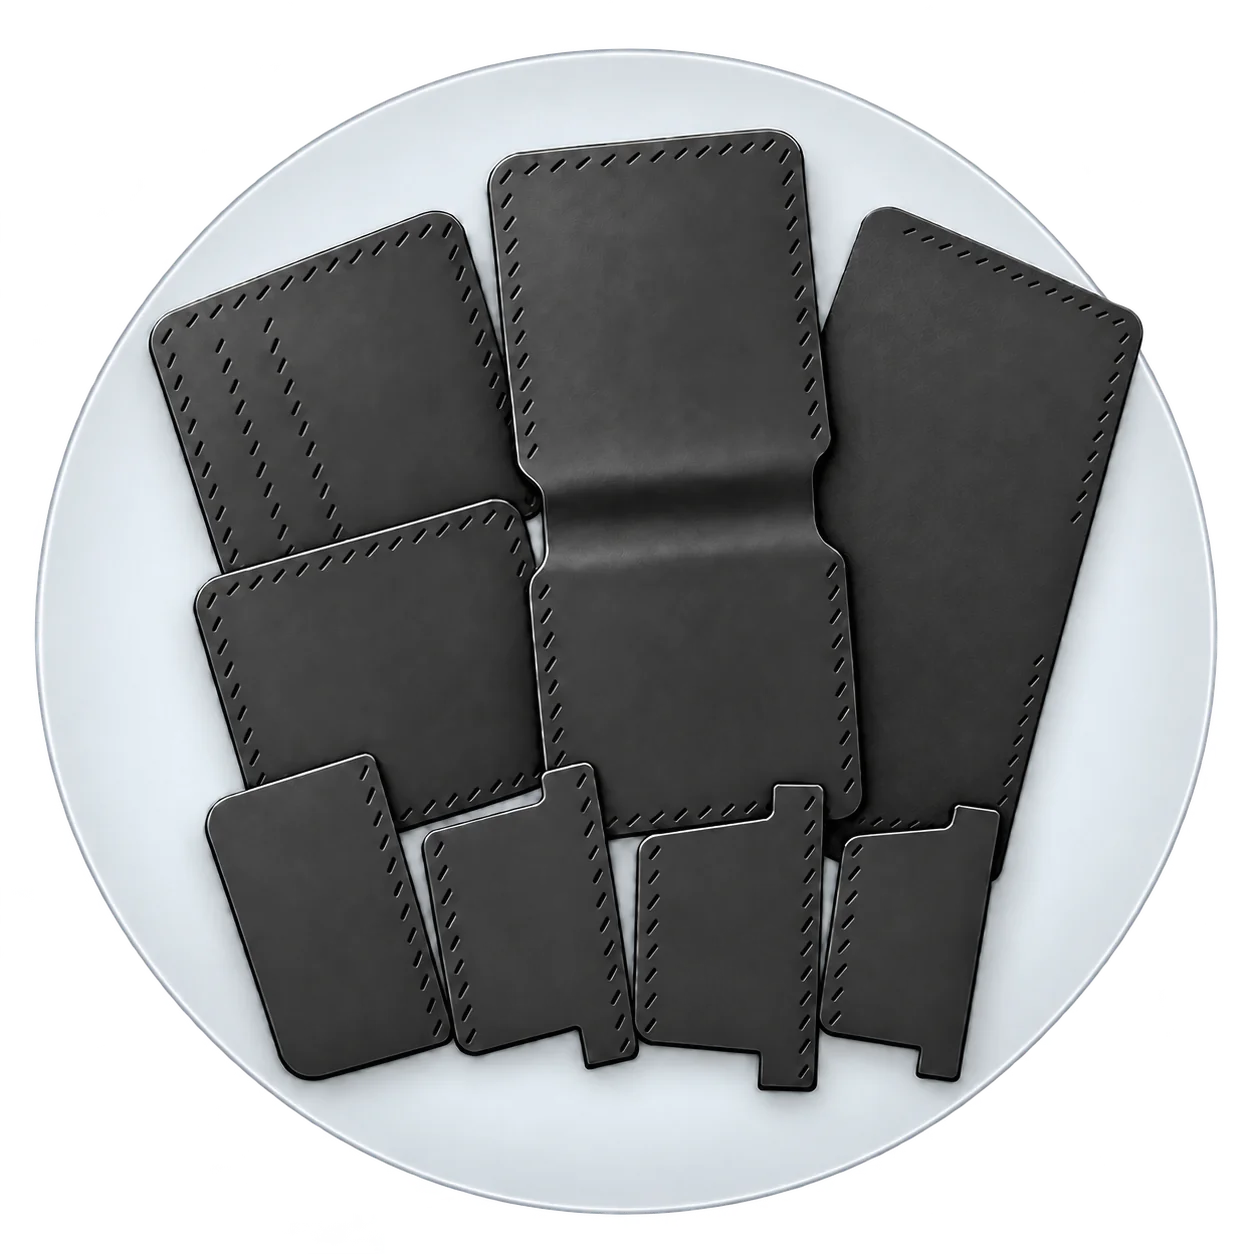
Find each piece below. Keep the left and right pieces in separate groups.
Use the same steps for every kit colour.
Cut thread about five times the seam length. Put a needle on each end. Centre the thread in the first hole. At each next hole, pass the needles through from opposite sides, one at a time. Pull snug.
Learn to saddle stitchAges 12+. Sharp needles, snips and small parts. Children need direct adult supervision. Read the instructions before use and store needles securely.
